Text-to-video is the fastest way to create a shot that doesn’t exist yet. Describe a scene in words, and the AI video generator turns it into a clip that’s a few seconds long to well over 10 — a product reveal, an establishing shot, a story beat, or B-roll for a bigger edit.
What this tool doesn’t do is build a full, multi-scene video for you. If you want a script, storyboard, avatars, voiceover, and captions generated together from a topic, use AI Video Agent instead. This tutorial solves one clear task: turn a written prompt into one reviewable, downloadable video shot.
Step 1: Open Generate Video mode
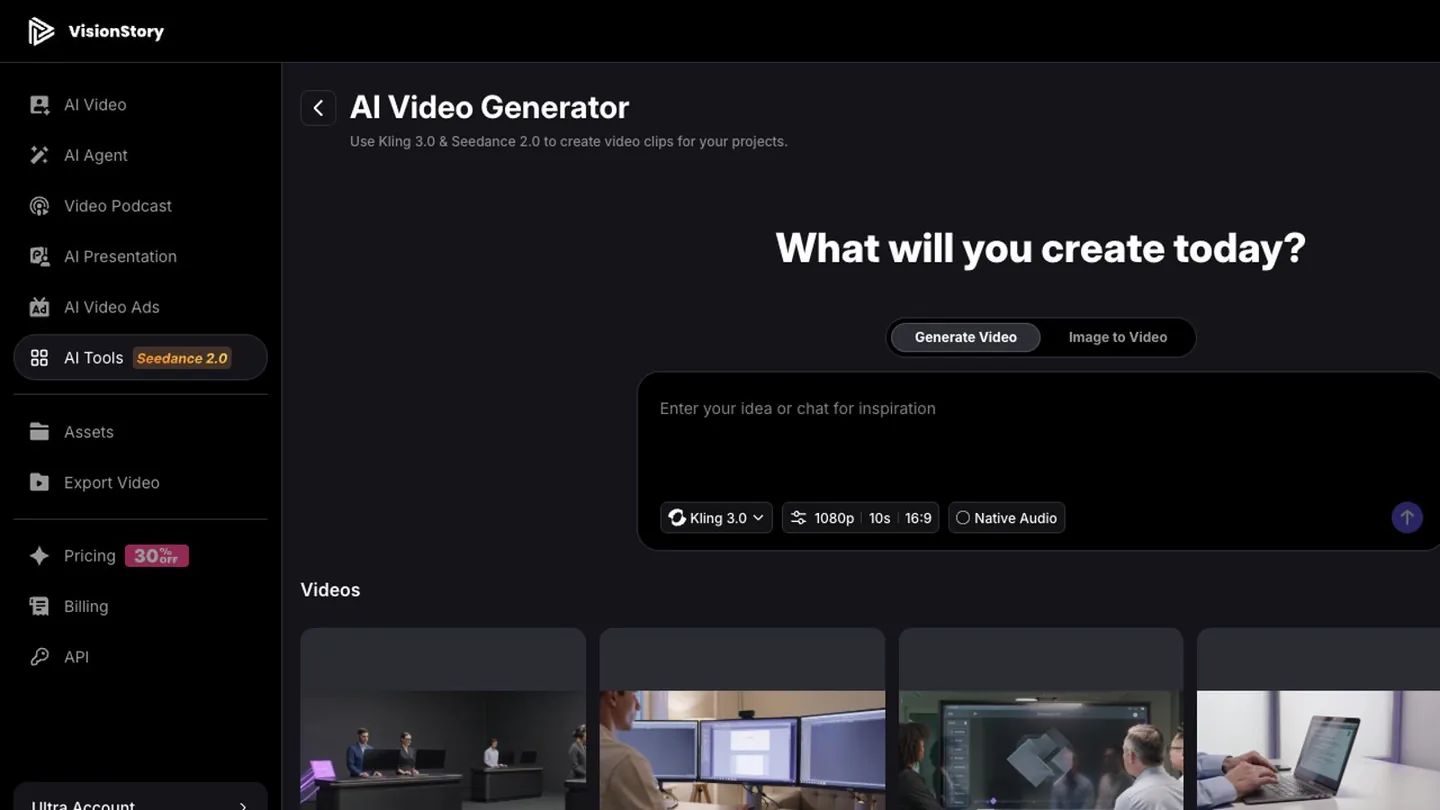
Open the AI Video Generator in VisionStory’s AI Tools and make sure Generate Video is selected at the top. This mode creates a new scene from text alone — no starting image required. If you need to preserve the exact look of a product, person, or scene, switch to Image to Video instead.
Before you write anything, decide what job this shot has in the finished video: the first-three-seconds hook of a social clip, a product close-up, an establishing shot, transition B-roll, or a single action inside a story. The clearer the job, the easier the prompt.
Step 2: Write the subject, the action, the setting, and the camera
An effective AI video prompt is more than a noun. Cover at least four things: what the subject is, what the subject does, what the scene and light look like, and how the camera moves. Product shots should also name the materials, colors, and structure that must stay accurate.
- Subject — a person, product, animal, building, or environment.
- Action — opens, turns, walks, pours, reveals, flies past, transforms.
- Setting — studio, street, office, nature, plus time of day and lighting.
- Camera — close-up or wide, locked or tracking, push-in, orbit, overhead.
- Limits — no text, no extra people, no brand mistakes, no morphing, no stray objects.
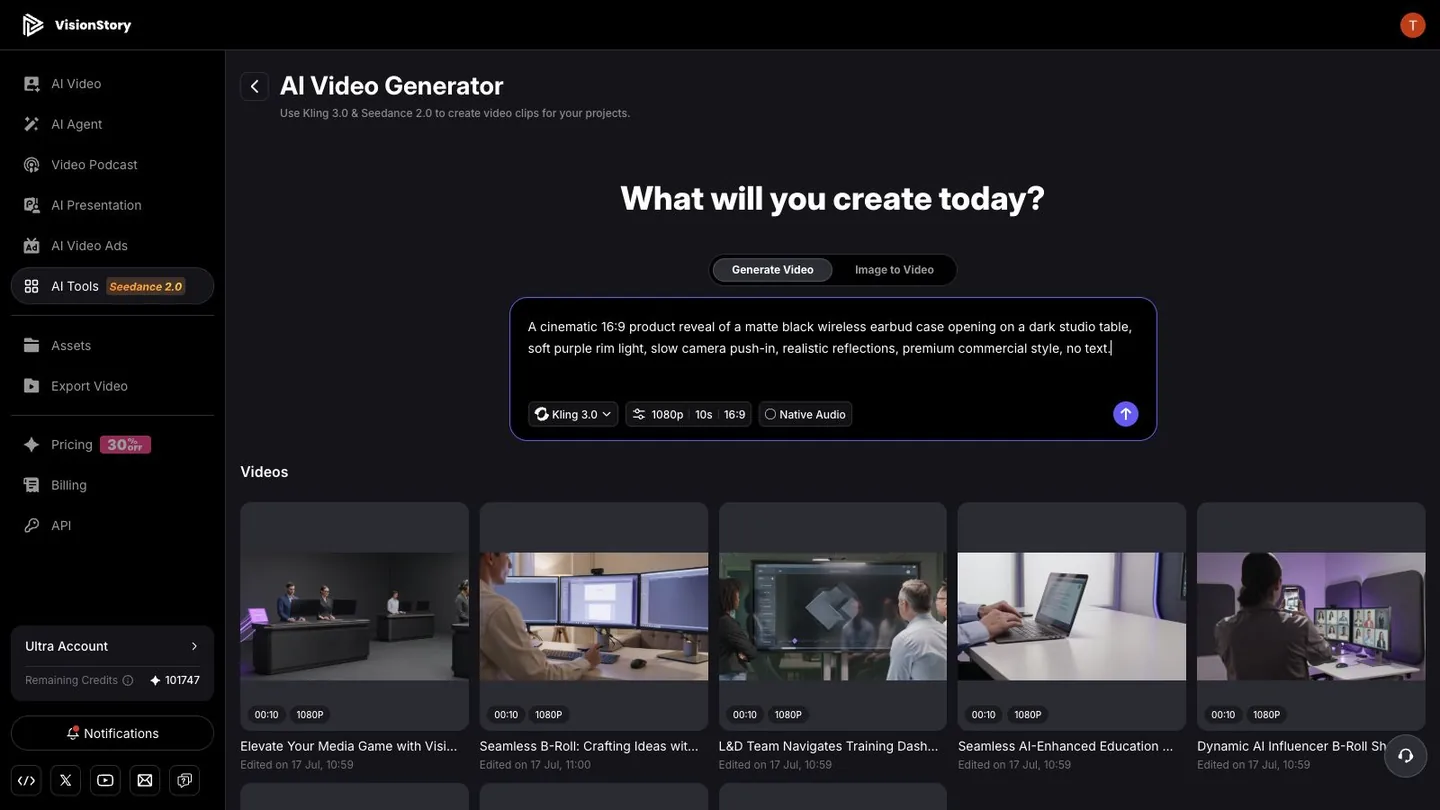
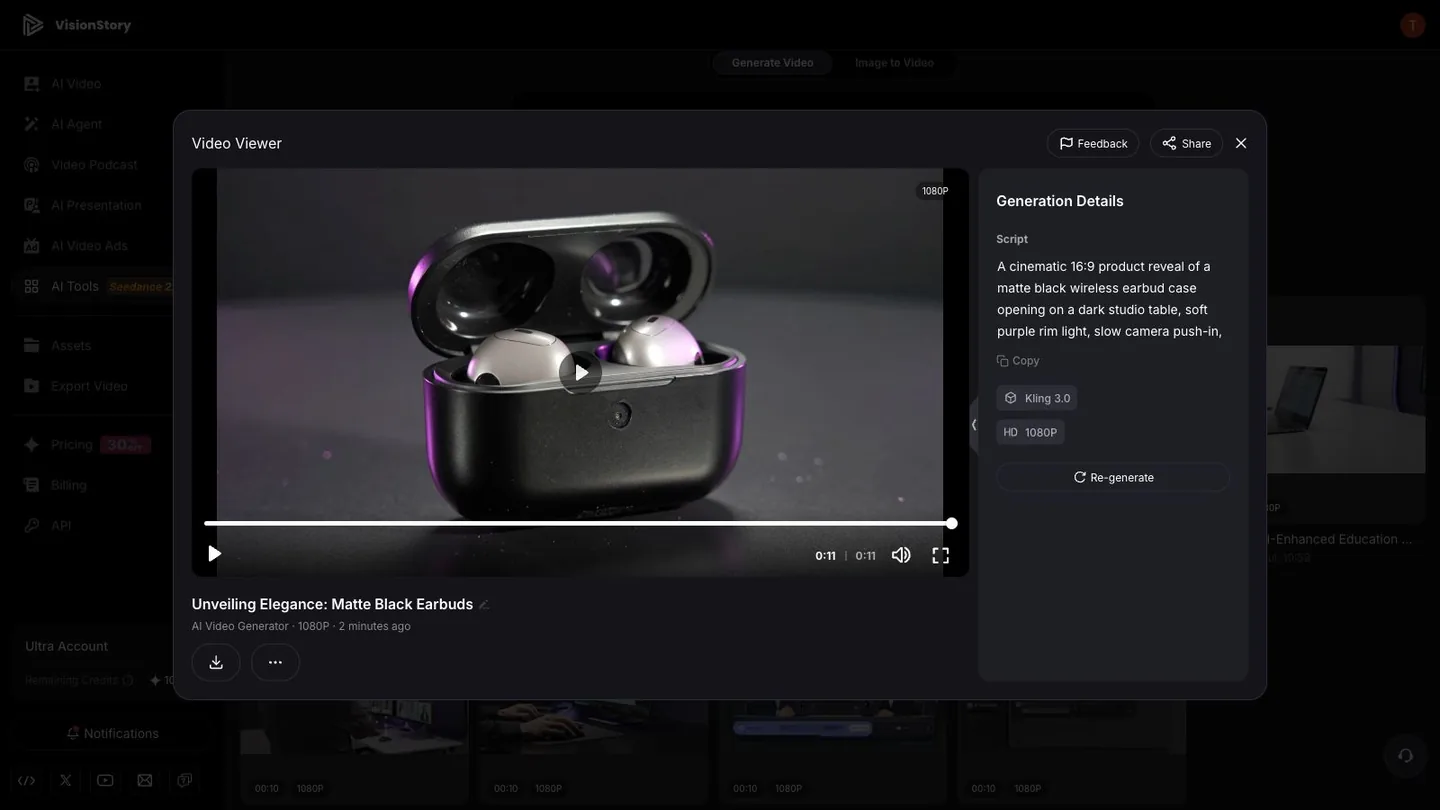
A cinematic 16:9 product reveal of a matte black wireless earbud case opening on a dark studio table,
soft purple rim light, slow camera push-in, realistic reflections, premium commercial style, no text.
Step 3: Choose the model, duration, aspect ratio, and resolution
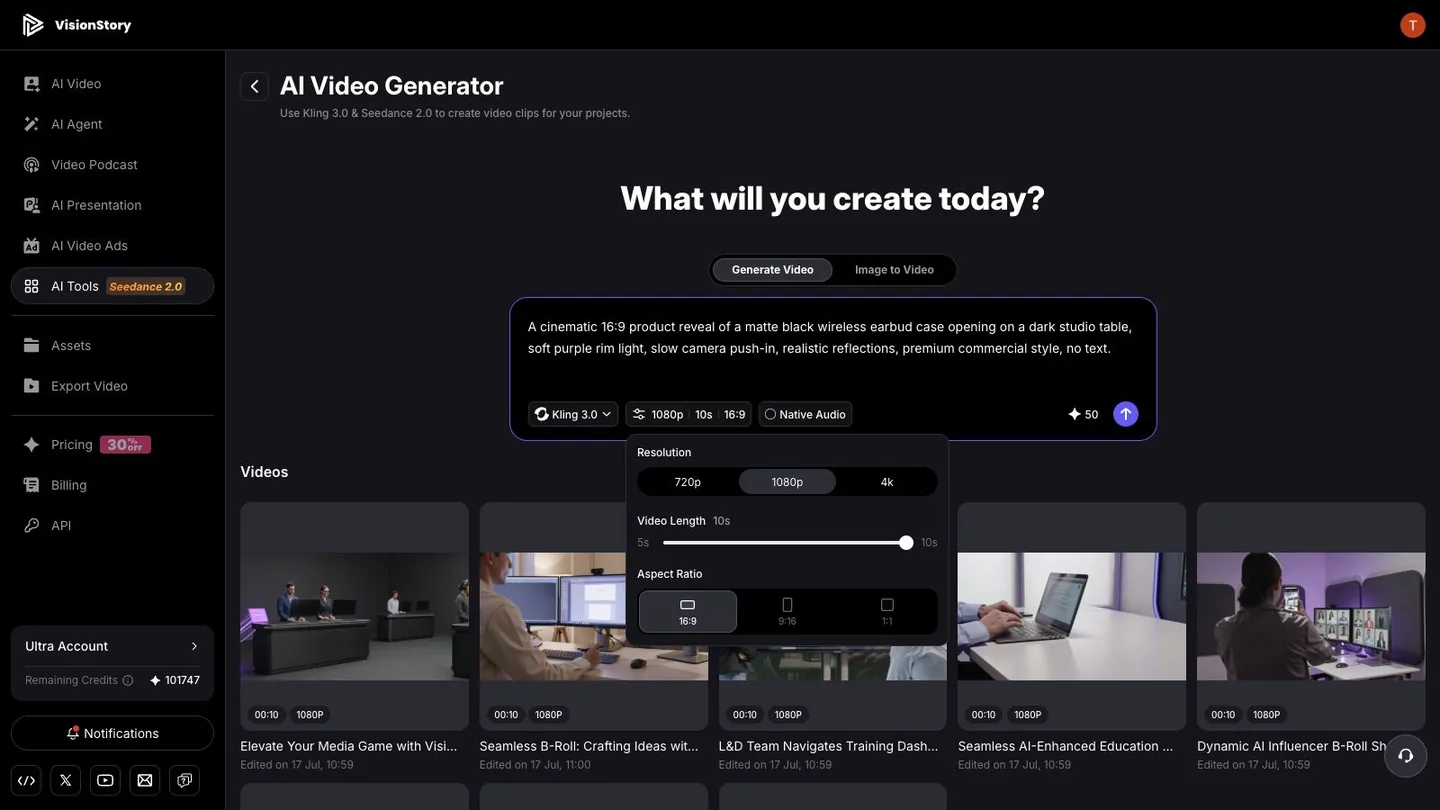
Open the settings panel and match the output to where the shot will run. Landscape 16:9 works well for YouTube, websites, and presentations; 9:16 fits TikTok, Instagram Reels, and YouTube Shorts; 1:1 works for product cards and some feed placements.
Short clips are the most affordable way to test composition and motion direction — confirm the prompt works before rendering longer or sharper versions. Models vary in human motion, product consistency, camera moves, and native audio, so compare small samples with the same prompt before a serious production run.
Step 4: Generate and find the result in your Videos list
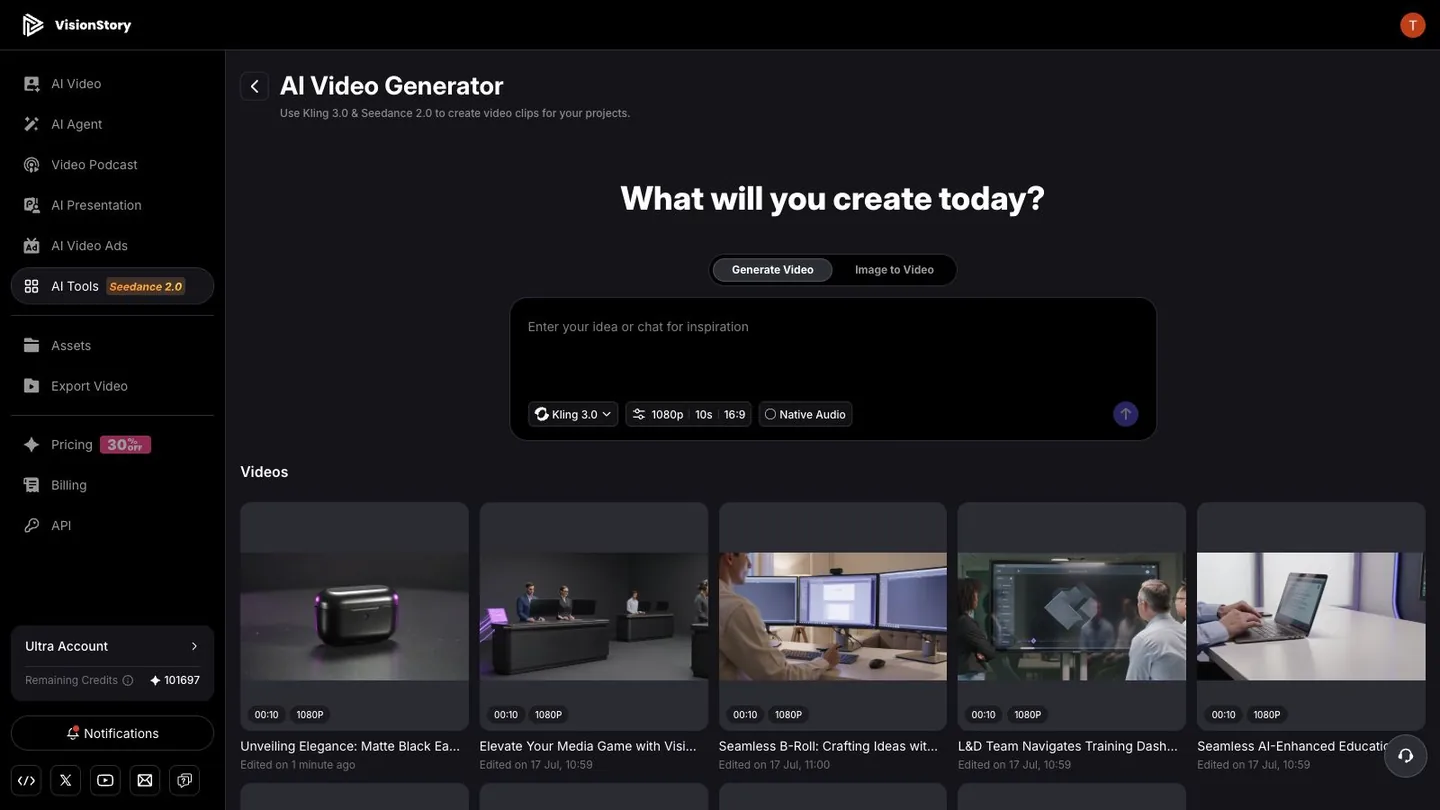
Click the generate button at the lower right of the prompt box. When the render finishes, the new clip appears at the top of the Videos list below, labeled with duration, resolution, title, and creation time. Check the thumbnail first: does it already show the main subject and composition from your prompt?
If the thumbnail is clearly wrong — the product color is off, the subject is missing, the framing is unusable — don’t drop it into a real project. Go back to the prompt, add the features that must be preserved and the things that must not appear, and generate again.
Step 5: Preview the full shot, then download
Open the video card and play it from the start. Watch whether the subject stays consistent across the whole shot, whether the motion follows physics, whether the camera jumps, and whether product structure, hands, text, or the background breaks anywhere. Generation Details keeps the original prompt, model, and resolution for reruns and comparisons.
Download only after the shot passes review, then cut it into your edit, your AI Video Agent project, or the rest of your workflow. Never publish just because the first frame looks good — the middle and final frames need the same scrutiny.
Common problems and how to fix them
- The video is basically a still image. Write the subject action and the camera move explicitly — the lid opens, slow push-in, orbit the product — instead of describing a photo.
- The subject morphs mid-shot. Reduce the number of actions in one shot, shorten the duration, and spell out the materials, colors, and structure that must stay stable.
- The shot looks flashy but says nothing. First, decide what selling point or story beat the shot needs to deliver; then choose lighting and camera moves.
- The aspect ratio doesn’t match the platform. Pick the right ratio before generating. Cropping a landscape shot into a vertical one usually cuts off the subject and the action.
- Stray text or logos appear. Add no text, no logo to the prompt — and still check every frame before publishing.
Text-to-video is at its best when it delivers the moving shot you couldn’t otherwise film. Lock down the job of the shot first, write the subject, action, setting, and camera clearly, and review the whole timeline — not just a thumbnail. When your starting point is a picture rather than a prompt, switch to turning an image into a video.