Text-to-image is the fastest way to get product concept shots, ad backgrounds, social visuals, character designs, and storyboard frames when there is nothing to photograph yet. What it cannot do is prove anything about a real product's structure, materials, or features — that boundary matters for every commercial use below.
This tutorial generates a 1:1 product-photography shot of an orange insulated travel mug from scratch, then moves the same mug onto a bright office desk within one session. If your task is to keep a real photo and change the outfit, background, or one region, that is the image-editing workflow — see transforming a photo with AI. This page is about building the first image from words.
Step 1: Start a new session and fix the image's purpose
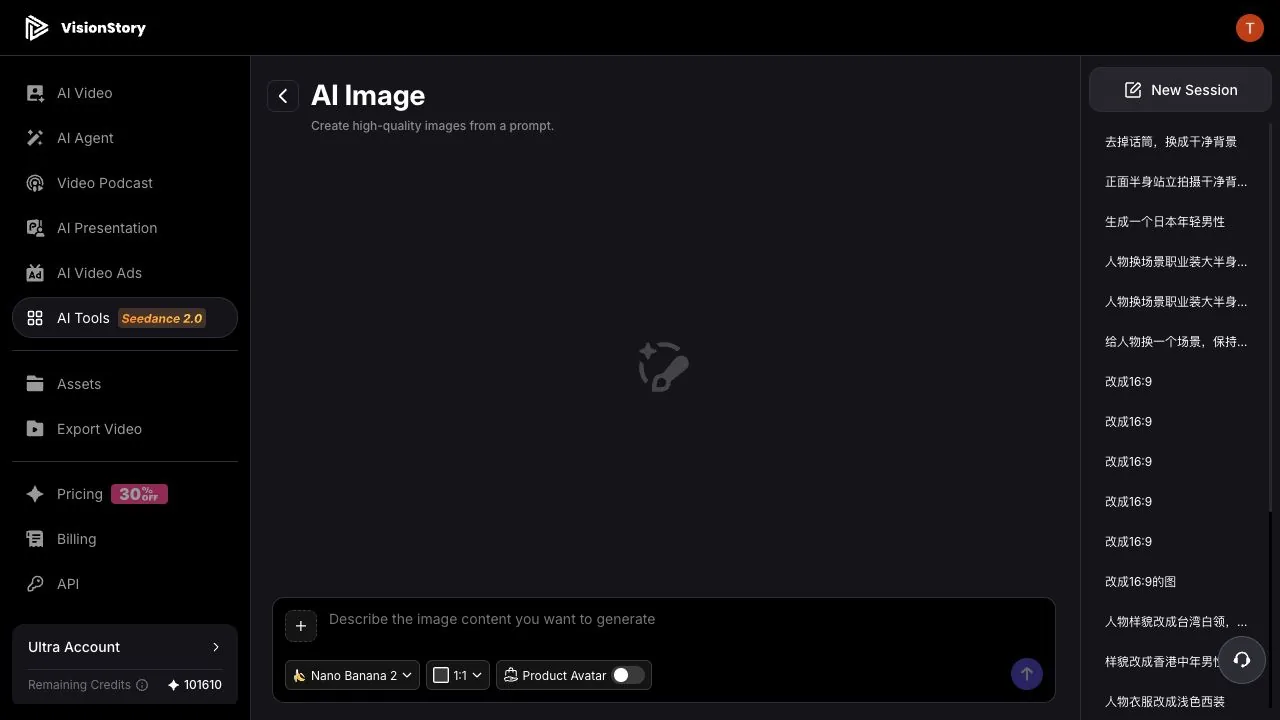
Open AI Image and click New Session. Decide up front whether the image is for a store listing, an ad, a social post, a website banner, video B-roll reference, or a character sheet — the purpose drives the aspect ratio, the composition, and which background elements are allowed.
The goal in this example is a product concept shot with no text and no logo, for testing ad compositions. It is not an official photo of a real product, so it cannot stand in for real product images or serve as proof of structure and accessories.
Step 2: Write the product, material, scene, light, and limits
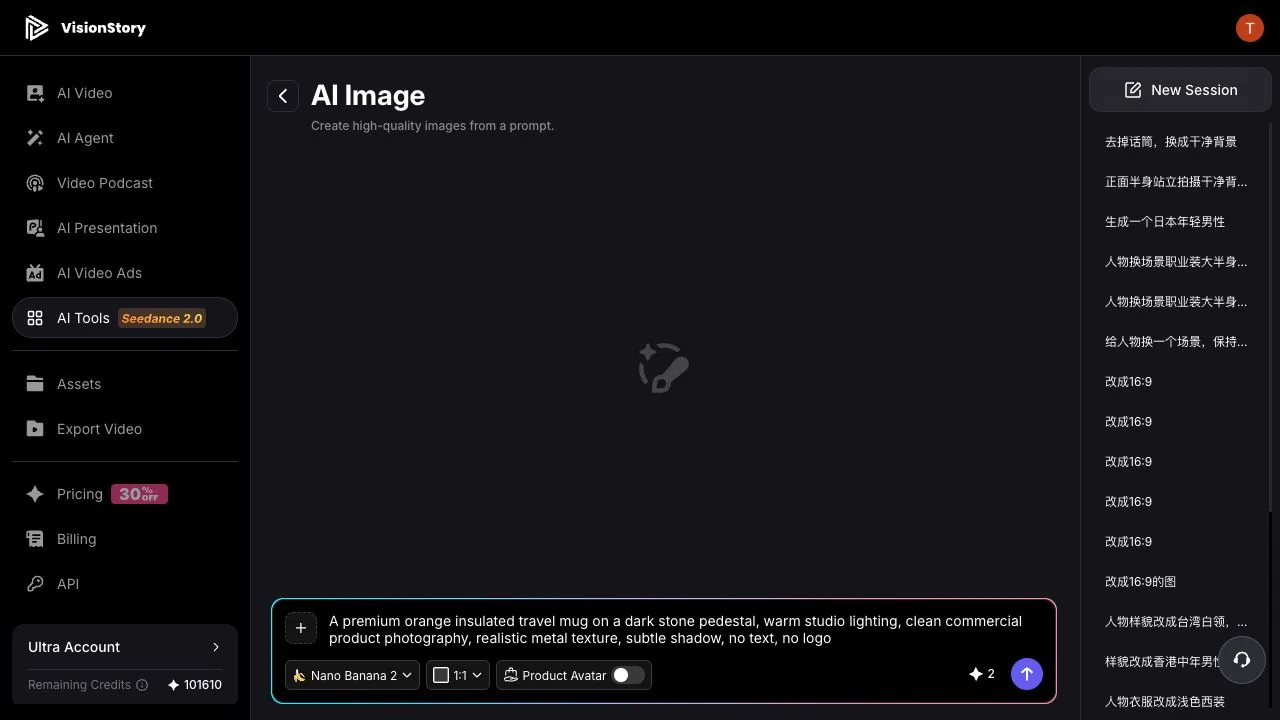
An effective product-image prompt names what the subject is, what it looks and feels like, where it sits, what the lighting and photography style are, and what must not appear. A cup alone controls none of the color, the camera distance, or the finish.
A premium orange insulated travel mug on a dark stone pedestal,
warm studio lighting, clean commercial product photography,
realistic metal texture, subtle shadow, no text, no logo.
Choose the model and aspect ratio for the task. This example uses Nano Banana 2 at 1:1, which makes side-by-side product comparisons easy; 16:9 suits site banners and YouTube art, 9:16 suits vertical ads and covers.
Step 3: Review the first shot — not just whether it looks good
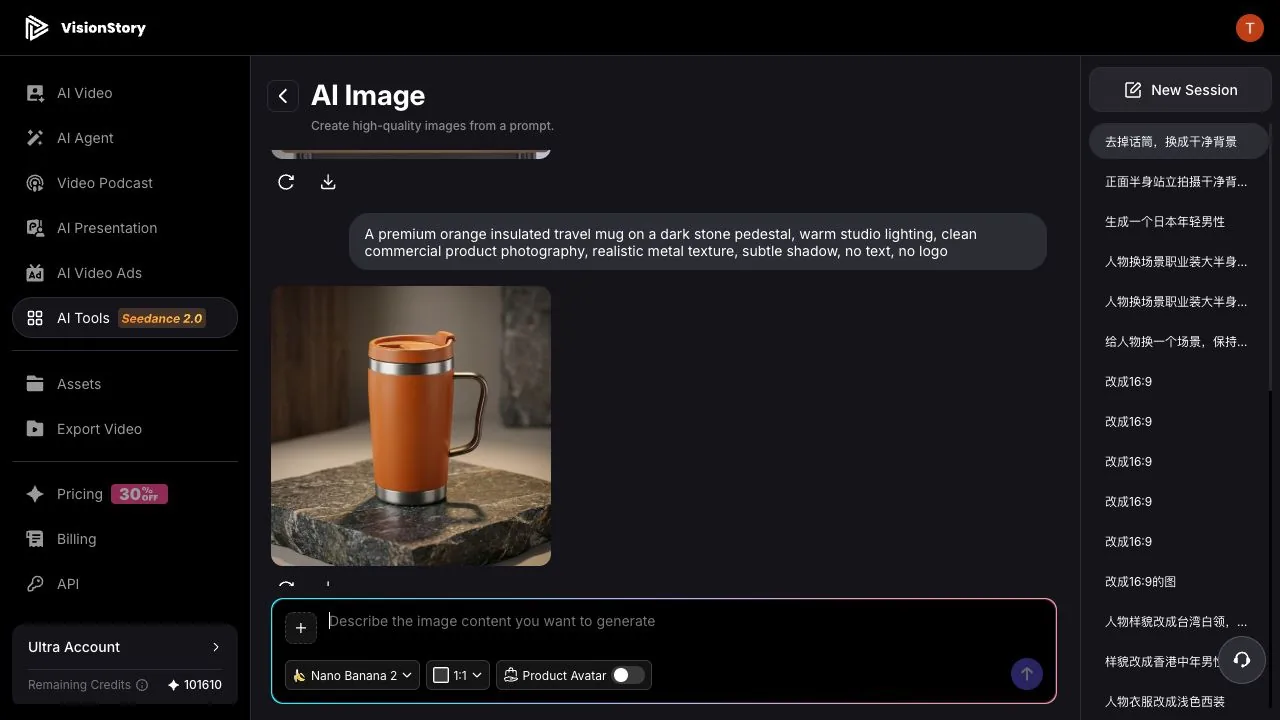
When the image lands, check that the product is complete, the color and material are consistent, the handle and lid geometry make sense, the shadow direction is believable, and nothing stray — wrong text, logos, extra objects — crept in.
The example run delivers the orange metal mug, the dark stone pedestal, and warm commercial lighting. It is still an AI concept image: if the product you actually sell has a different lid, handle, or proportions, switch to real product photos or regenerate against an approved reference.
Step 4: Change exactly one variable per revision
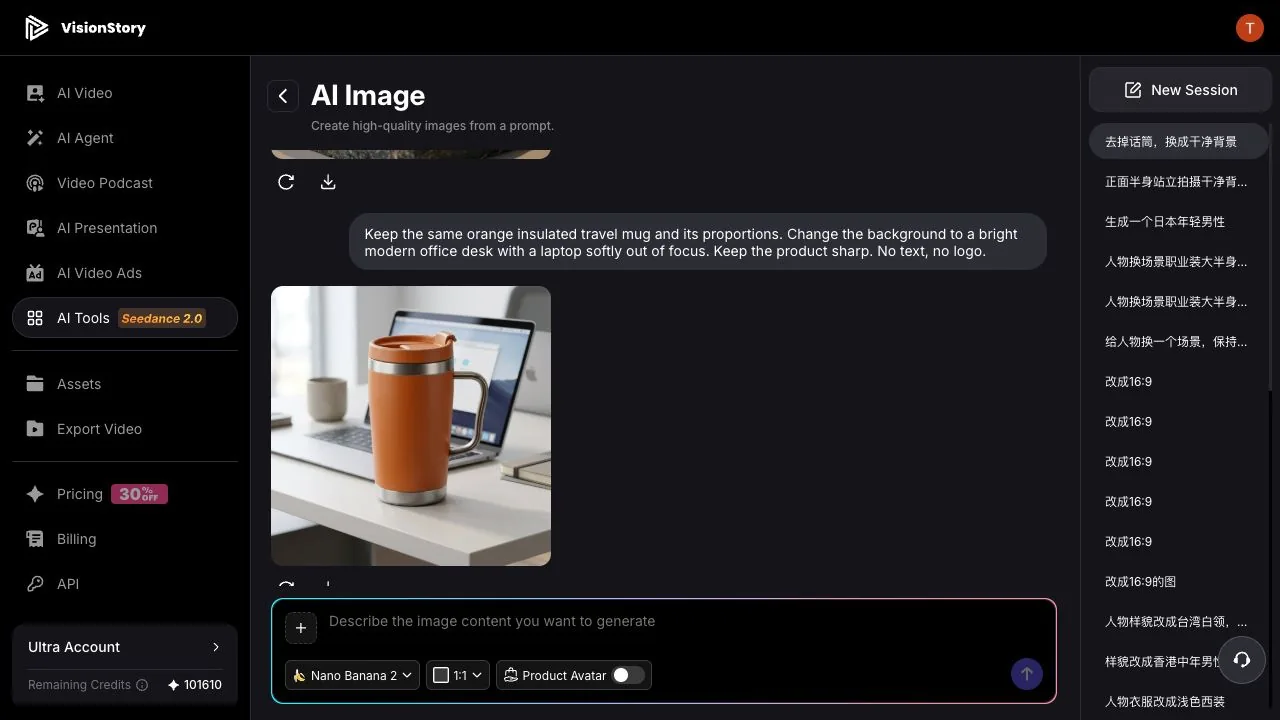
If the product is close, do not rewrite the prompt from scratch. In the same session, say what stays and what changes — here: keep the same orange mug and proportions, move the background to a bright office desk.
Keep the same orange insulated travel mug and its proportions.
Change the background to a bright modern office desk with a laptop softly out of focus.
Keep the product sharp. No text, no logo.
The second result places the same mug into a work scene. When you compare the two, look for drift in the product's shape — the lid, the handle, the metal edges — instead of letting a more natural background win the comparison by itself.
Step 5: Before downloading, check size, rights, and product truth
Select the approved image and check the dimensions, aspect ratio, subject safe area, and sharpness for its destination. For ads, websites, and store pages, also confirm there are no unlicensed people, trademarks, packaging designs, or obvious imitations of protected work.
If the image is presented as a real product, compare it against approved product photos item by item — appearance, color, structure, accessories, and how it is used. AI images are for creative drafts and supporting visuals; they must not invent features, packaging, or results that the real product does not have.
Common problems and how to fix them
- The product's structure changes on every run. Cut unrelated style words; lock the color, material, viewpoint, and required structure. For a real product, upload a reference photo and edit instead.
- Beautiful image, unusable as a product shot. Add camera distance, background complexity, lighting, and purpose — clean commercial product photography, product centered, no text.
- The product changes when the background changes. Write keep the same product and proportions, adjust one variable per round, and compare each result against the previous one.
- Stray text or logos appear. Prompt no text, no logo, zoom in to check anyway, and add real brand text later in a design tool.
Good AI product photos do not come from stacking style words. They come from writing the subject, structure, scene, light, aspect ratio, and usage boundary clearly — and reviewing every revision against the image's real purpose. When the shot passes, it can feed an ad test, a social post, or the start frame of an image-to-video product clip.