Image-to-video is not about designing a new picture — it is about giving a picture you already trust some time and motion. Upload a product shot, a portrait, or a concept frame, describe what should move and how the camera should behave, and the image to video tool generates a moving clip that keeps your subject intact.
That makes it the right tool whenever appearance is non-negotiable. Compared with pure text-to-video, the start image locks in the person, product, outfit, scene, and composition; the prompt's job is to say what may move, how the camera moves, and which details must not change.
Step 1: Pick a start image that can survive animation
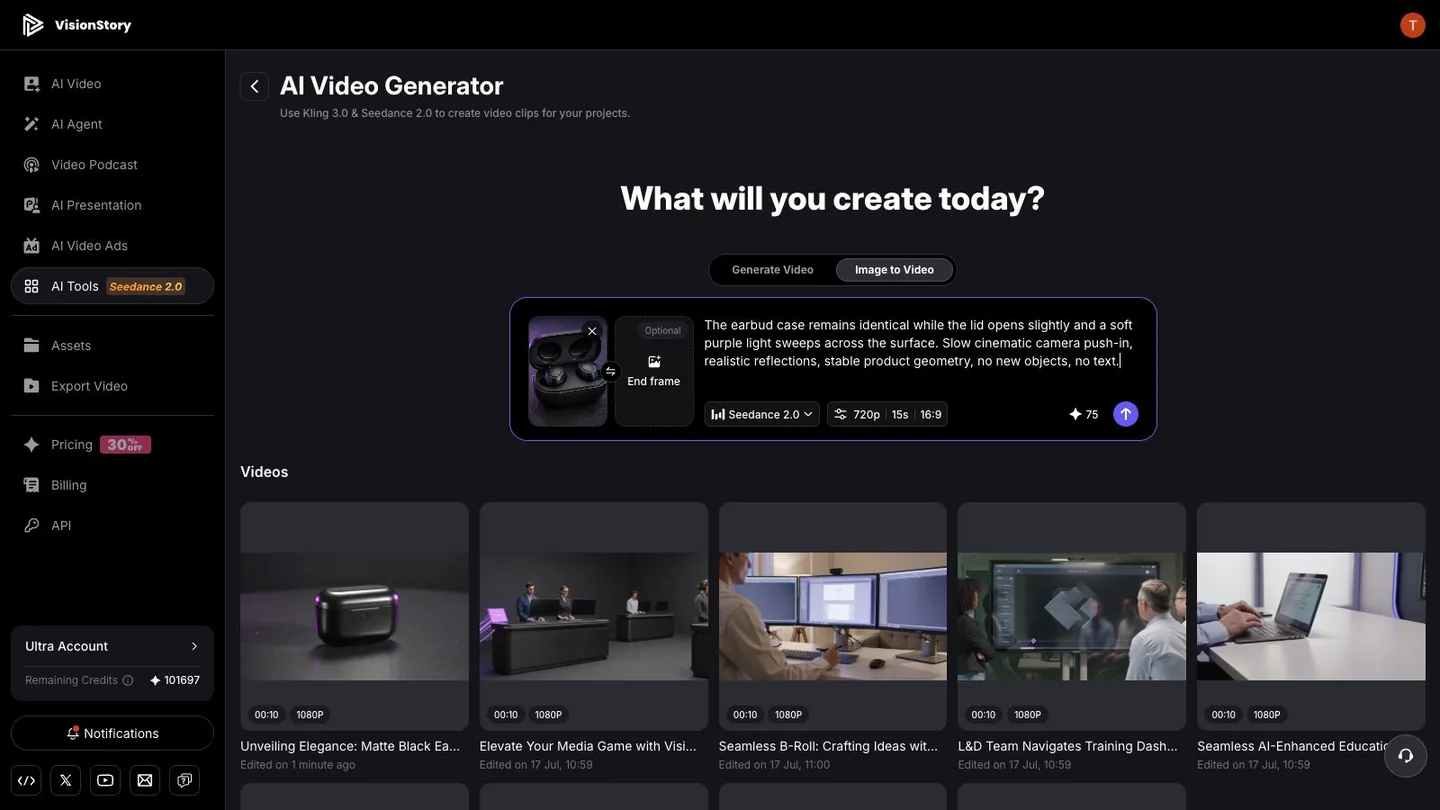
In the AI Video Generator, switch to Image to Video and upload your picture as the Start frame. Favor images with a complete subject, clean lighting, and a composition already close to the final aspect ratio. A product shot should show the full shape and key parts; a portrait should avoid cropped hands, hair, or clothing; a scene should leave room for the camera to move.
This tutorial uses a 16:9 shot of a matte black earbud case. The prompt asks for the lid to open slightly, a purple light to sweep the surface, and a slow push-in — while keeping the product geometry stable, with no new objects and no text.
The earbud case remains identical while the lid opens slightly and a soft purple light sweeps across the surface.
Slow cinematic camera push-in, realistic reflections, stable product geometry, no new objects, no text.
Step 2: Decide on an end frame, then set the parameters
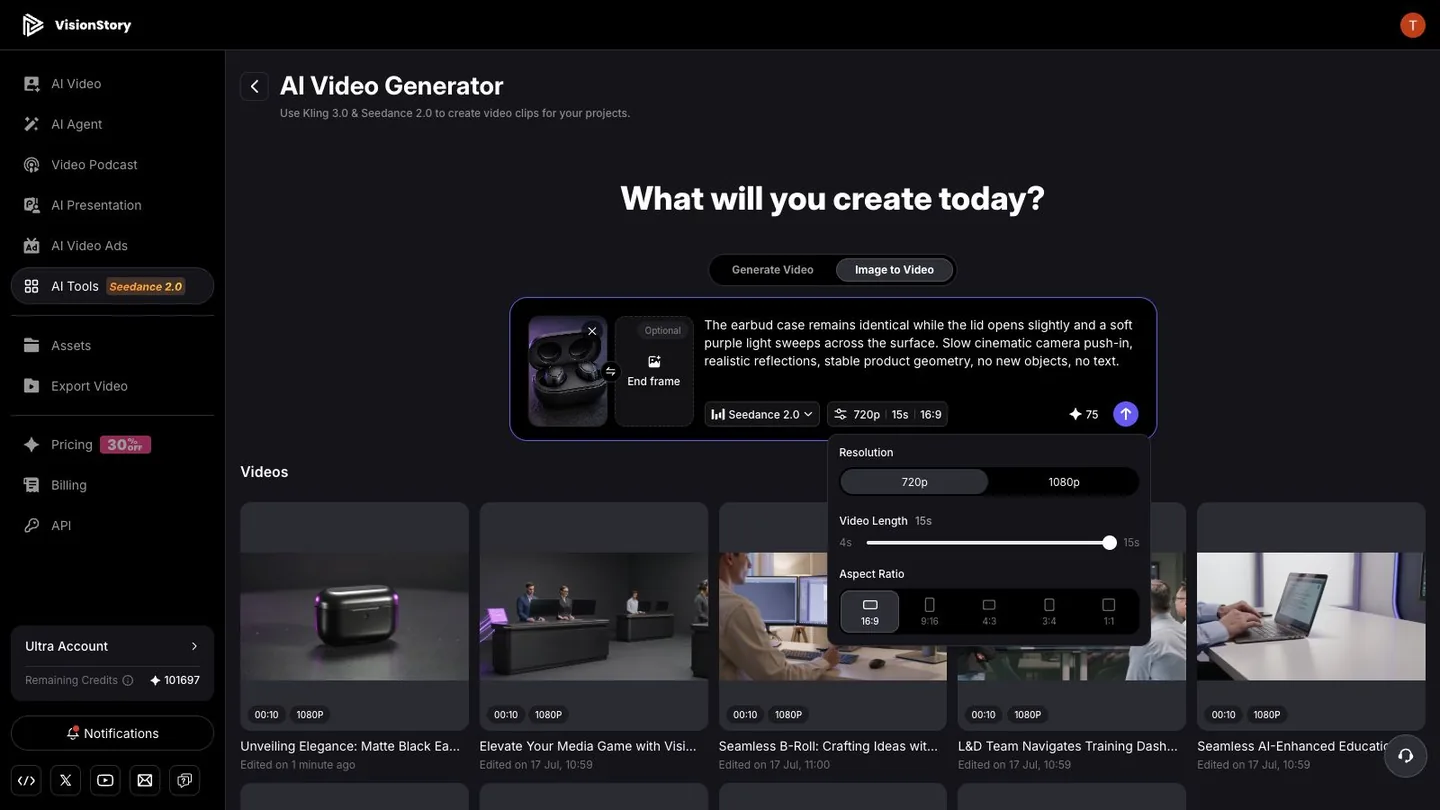
If the image just needs natural motion, skip the End frame. Upload a second image only when the video must travel from one exact picture to another — and keep both frames on the same subject, viewpoint, and scene, or the model may jump or distort in between.
Then choose the model, duration, aspect ratio, and resolution for the destination. Product-detail shots usually read better with slower motion; a social hook can move faster as long as the product stays legible. Confirm the aspect ratio matches the input image so the system does not crop your subject to fill the frame.
Step 3: Generate, then check the thumbnail first
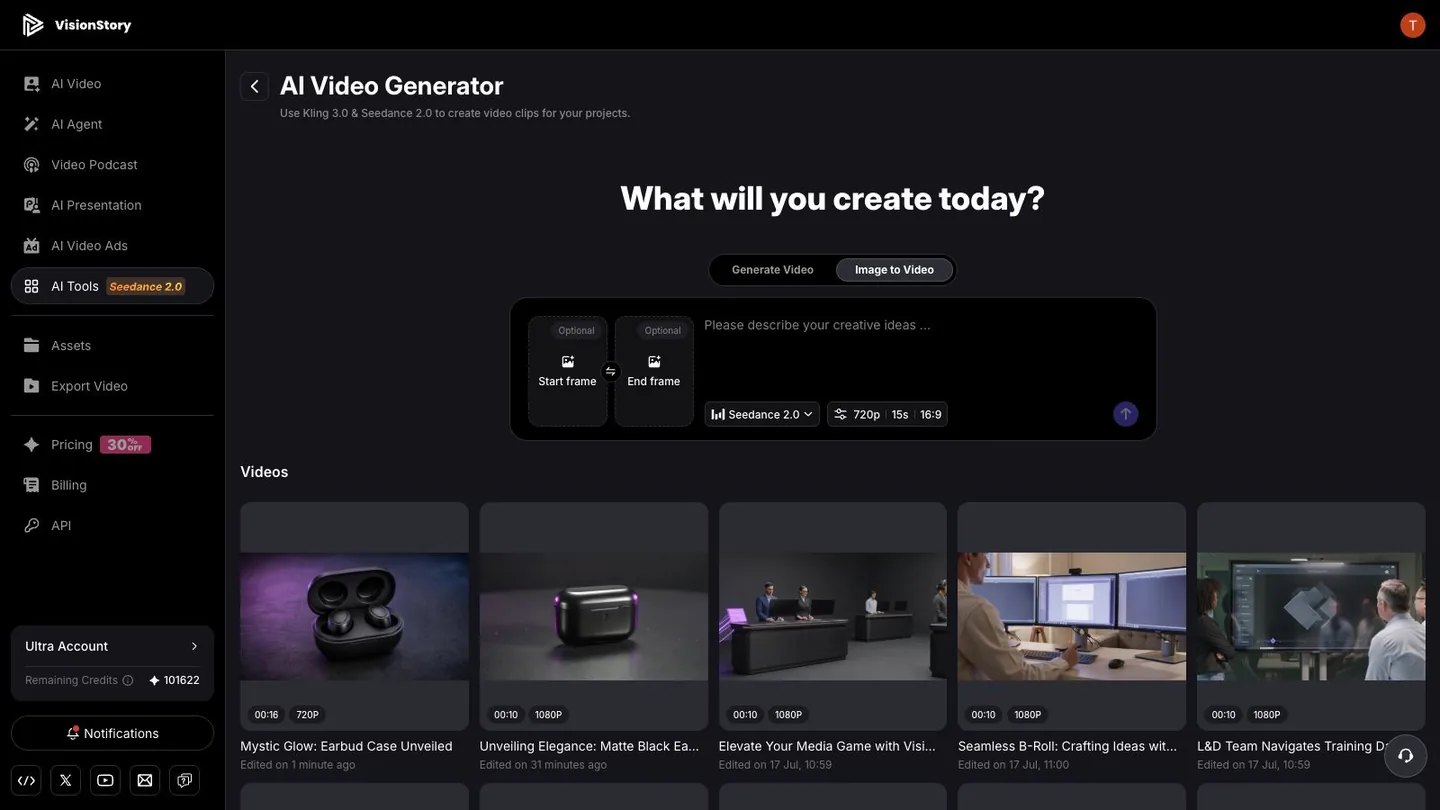
Click generate. The finished clip lands at the top of the Videos list with its duration, resolution, title, and creation time. Before playing anything, ask one question of the thumbnail: is this still the same product or person?
If the very first frame is already wrong — color, part count, identity, or framing — swap in a cleaner input image. If the first frame is right but the shot degrades midway, reduce the motion, shorten the duration, or strengthen the appearance constraints in the prompt.
Step 4: Play the whole clip and audit subject consistency
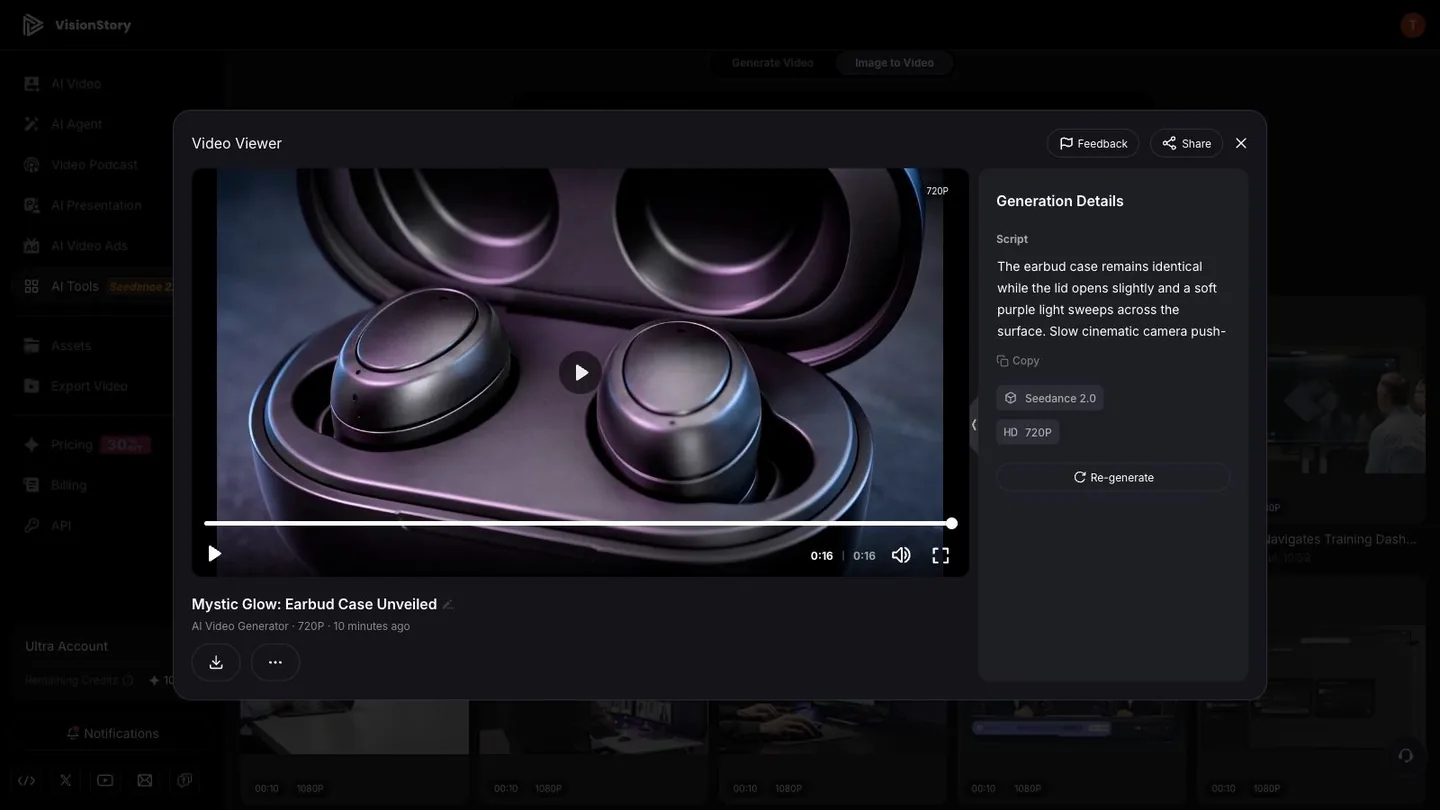
Play the result end to end in the Video Viewer. For products, watch the shape, materials, buttons, ports, and part count. For people, watch the face, hands, hair, clothing, and how they sit in the background. For scenes, watch structure, perspective, and lighting continuity.
Generation Details keeps the original prompt, model, and resolution. Download the clip once it passes, and use it in product ads, affiliate videos, social clips, channel B-roll, or a longer story edit. If it fails, fix the prompt or the input image — do not try to hide an obvious subject error in the edit.
Step 5: Put the working shot into a full video workflow
An image-to-video clip is usually one shot inside a bigger piece. Product sellers pair it with an avatar spokesperson or AI UGC explainer; YouTube creators run it as B-roll; brand and training teams use it to show products, processes, or concept scenes.
When you generate several shots on one theme, keep the input image, product version, character identity, and visual style fixed, and change exactly one motion variable per run. Comparing openings, transitions, and reveals gets much easier — and appearance drift across generations gets rarer.
Common problems and how to fix them
- The product turns into a different product mid-motion. Use a sharper, more complete product image, cut the number of actions, and name the materials, colors, structure, and parts that must not change.
- Faces or hands wobble. Choose an input with a clear frontal subject and unobstructed hands, avoid big turns and complex gestures, and start with shorter clips.
- The result is just a slow zoom. Describe a visible subject action or environment change and a specific camera move — not just make the picture move.
- The input image gets cropped. Match the source image to the target aspect ratio and keep the subject in the safe area; do not rely on the generator to convert landscape into portrait.
- The shot jumps between start and end frames. Keep both frames on the same subject, viewpoint, and scene, changing only the state you want to happen.
The bar for image-to-video is not more motion — it is a subject that stays believable while gaining motion that serves the content. Lock the appearance first, then direct the movement. If what you actually want is a portrait that speaks, that is a different workflow: make a photo talk. And when there is no usable picture at all, start from words with text to video.