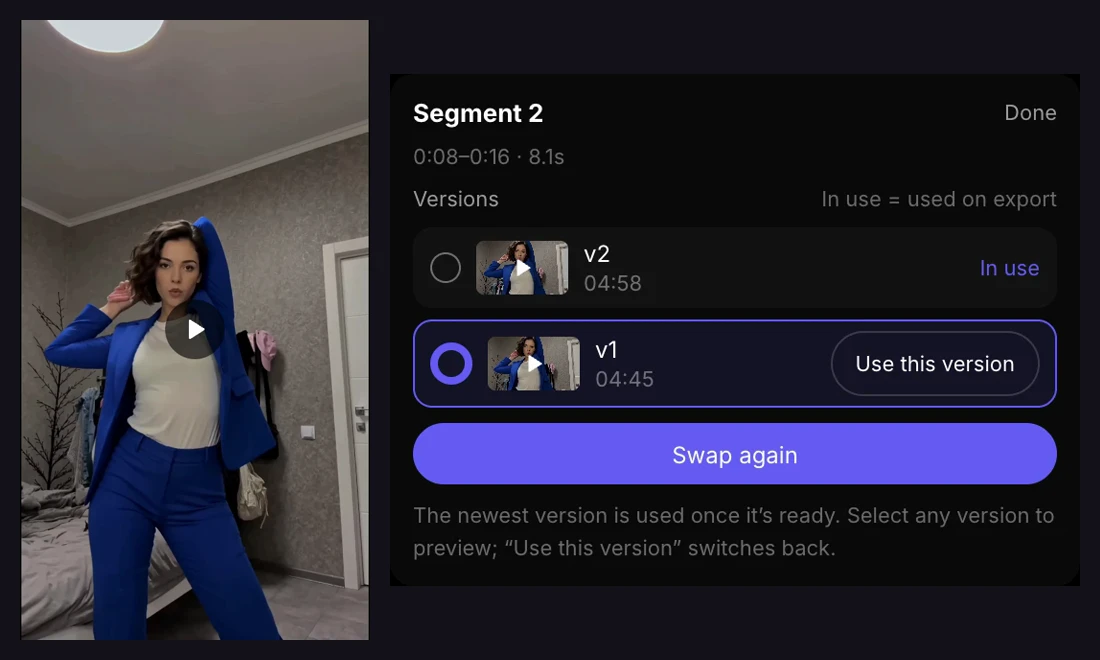
A face swap can work well for most of a video and still need another attempt in one passage. Workspace lets you refine those passages, compare versions, and choose what goes into the final export.
Start with a completed face swap video. For source footage, reference images, and mode selection, follow the Face only and Full body tutorial. Only use footage and reference images you are authorized to use.
Open the Completed Video in Workspace
Open your finished face swap video and choose Edit in workspace. The preview shows the selected segment, the strip below lists the source segments, and the side panel contains project settings and available versions.
Click a segment to update its preview and details. Identify the passage that needs attention before generating anything new.

Compare the Original and Swapped Footage
Choose Original to inspect the source, Swapped to review the generated footage, or Compare to see both. Drag the comparison divider to examine the same area on each side.
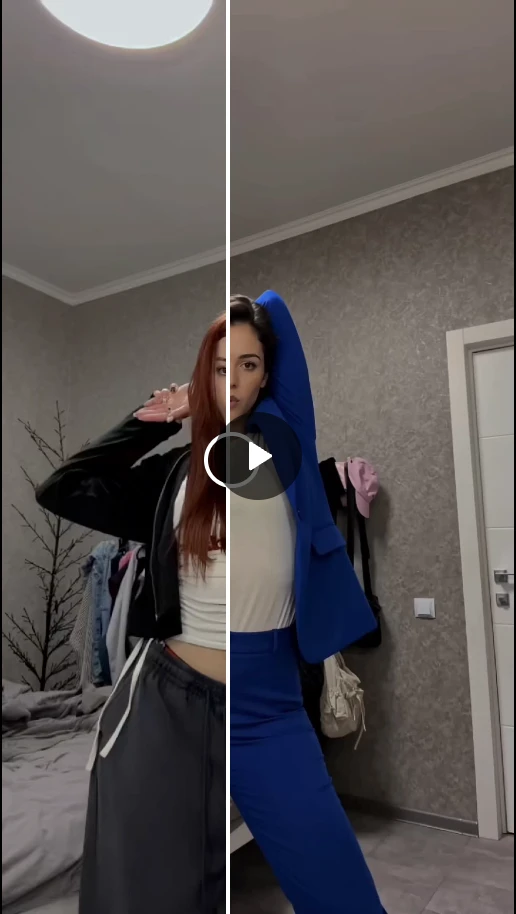

- Compare the face and edges around the subject.
- Check clothing where relevant to your chosen mode.
- Play the segment and compare it with its neighbors.
Generate Another Version of One Segment
Select the segment and click Swap again. Review the selected segment, resolution, and credit estimate in the confirmation dialog. Confirming submits a new paid generation for that segment.
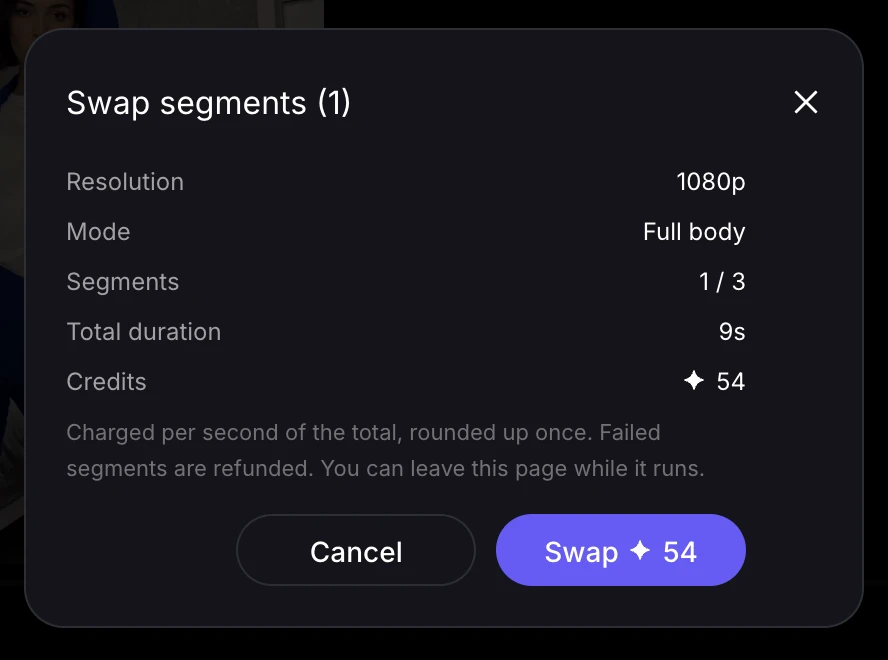
You can leave the page while it runs. Other completed segments stay unchanged. When the new version succeeds, it automatically becomes In use; earlier successful versions remain available.
Preview Versions, Then Choose Which One to Keep
Click an earlier version to preview it. Looking at another version does not adopt it: the In use marker identifies the chosen result. Click Use this version when you decide to switch.
Preview v1
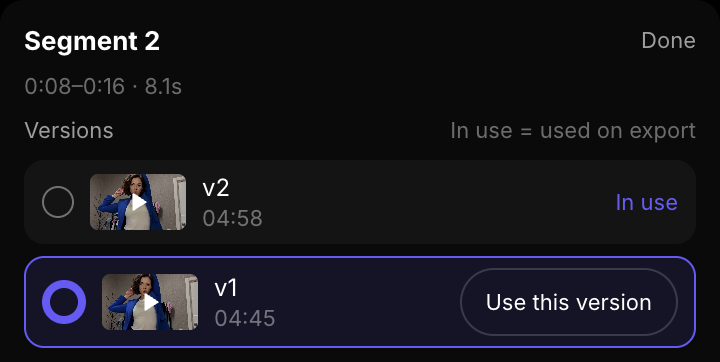
v2 remains In use.
Choose Use this version
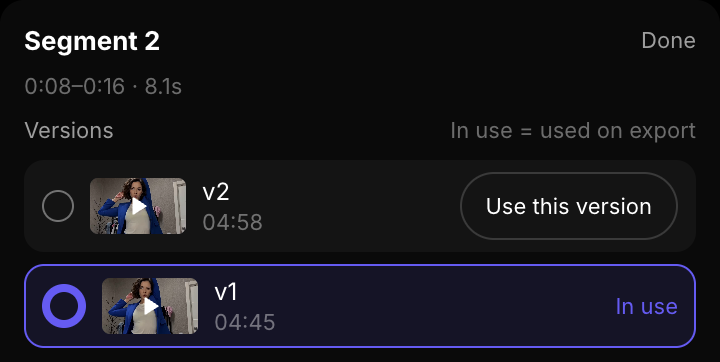
v1 is now In use.
Switching between completed versions costs no credits. Play all and your next export use the versions marked In use.
Redo Several Selected Segments
Tick the checkboxes for the parts you want to try again, then click Swap selected. Leave satisfactory segments unchecked.
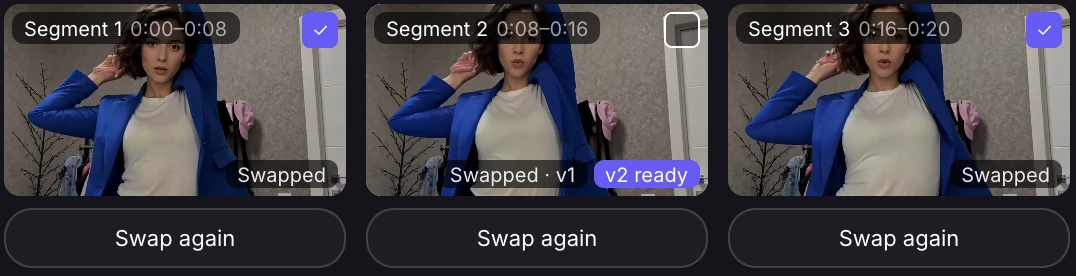
The confirmation dialog adds the selected durations together, rounds that total up once, and applies the resolution’s rate. Check the selection and quote before confirming another paid generation.
In the video tutorial, we cancel this example after showing the quote. No additional batch is submitted in that demonstration.
Review the Complete Sequence
Use Play all to review the adopted versions in order. Watch the selected segment advance and check the appearance and movement across segment boundaries.
Save the current segment
Download under the player saves one segment.
Save the complete video
Export at the top creates the full video. After an export, this button reads Export again.
Export the Full Video
Open Export, name the video, and review the segment versions. Exporting is free and uses the versions marked In use when you submit the export.
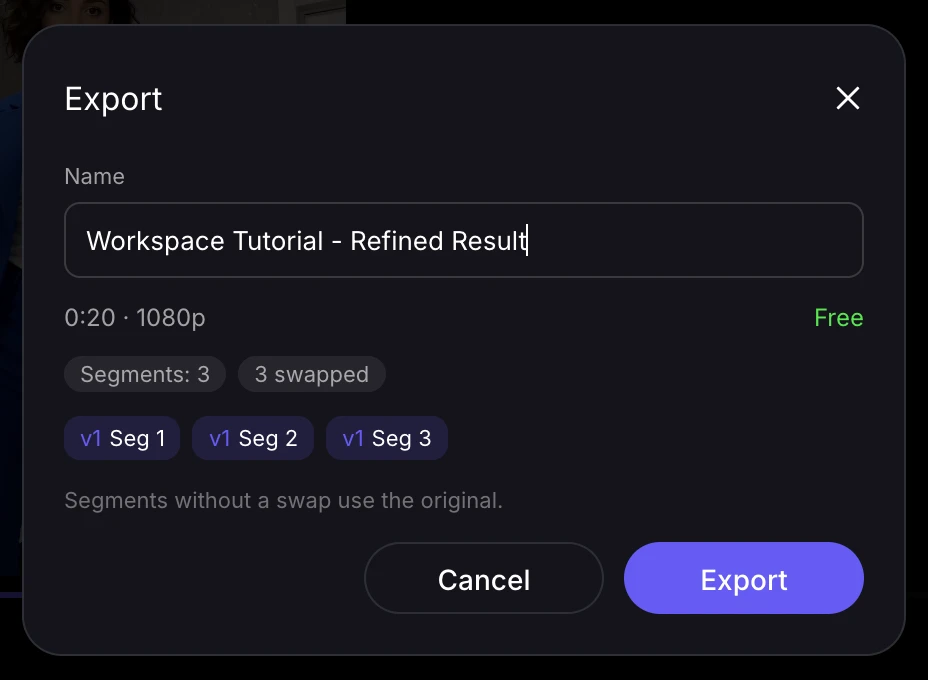
The complete video retains the source audio. Click Export; you can leave the page while it finishes. Open Exports to preview or download the completed video.
Each export is saved separately. Changing the version in use later does not change an earlier exported file. Create a new export to include your new choices.
Duplicate the Project to Change Locked Settings
The reference image, resolution, and mode lock once swapping starts. To change those choices, open the project menu and select Duplicate.
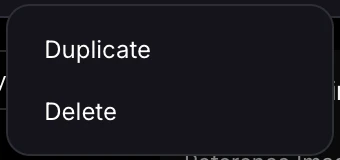
- What the copy keeps
- The source segments and project settings.
- What starts empty
- Generated versions and export history.
Adjust the settings in the copy, then check the credit estimate before generating again.
Refine Your Own Video
Use Open Face Swap above, open your completed video, and choose Edit in workspace. Keep the segments that work, retry the parts that need attention, and export once the full sequence is ready.
Want to animate a photo using a video performance? See the separate Motion Control tutorial.